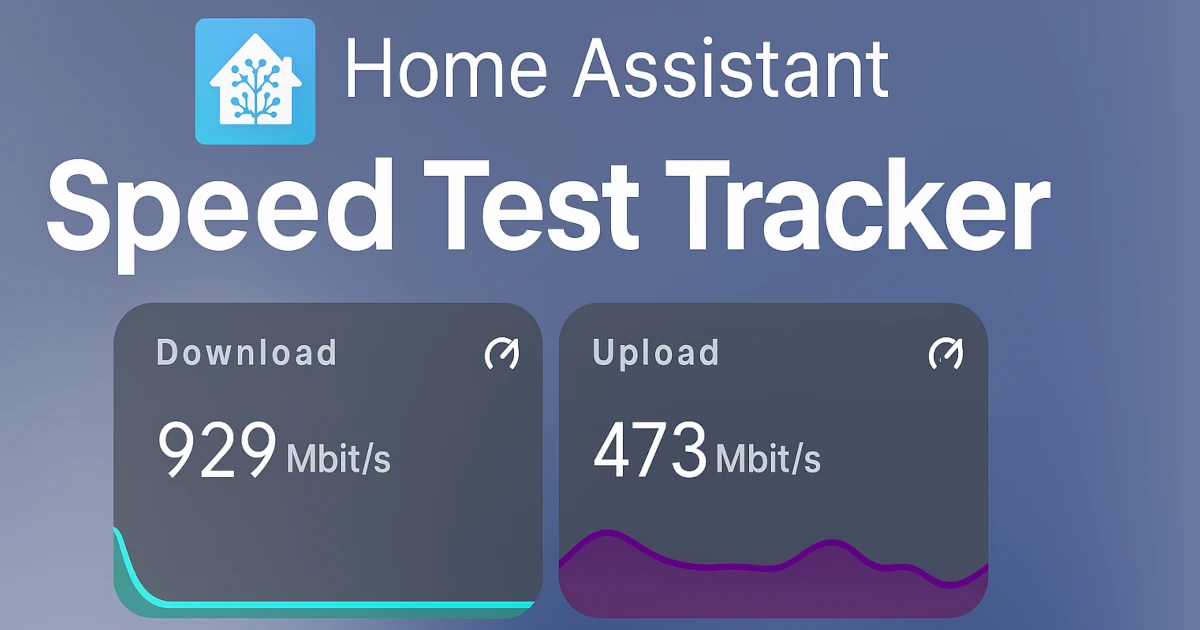
Speed Test Tracker in Home Assistant
Track your internet speed in Home Assistant with Speedtest Tracker. Step-by-step setup, automations, and real-world examples for reliable monitoring.
Update (April 2026): Added notes for HTTPS setups using IP addresses or self-signed certificates (
verify_ssl: false) and a troubleshooting section based on recent testing.
Home Assistant dashboards aren’t just great for controlling your smart home—they’re also perfect for monitoring your homelab. When I set up my Raspberry Pi Touchscreen Dashboard at my desk, I wanted a page that displayed real-time network and server metrics—including internet speed test results. That way, when I hear my wife yell down to my office, “Why isn’t the internet working?!” I can quickly glance over and see exactly what’s going on with our services and connection.
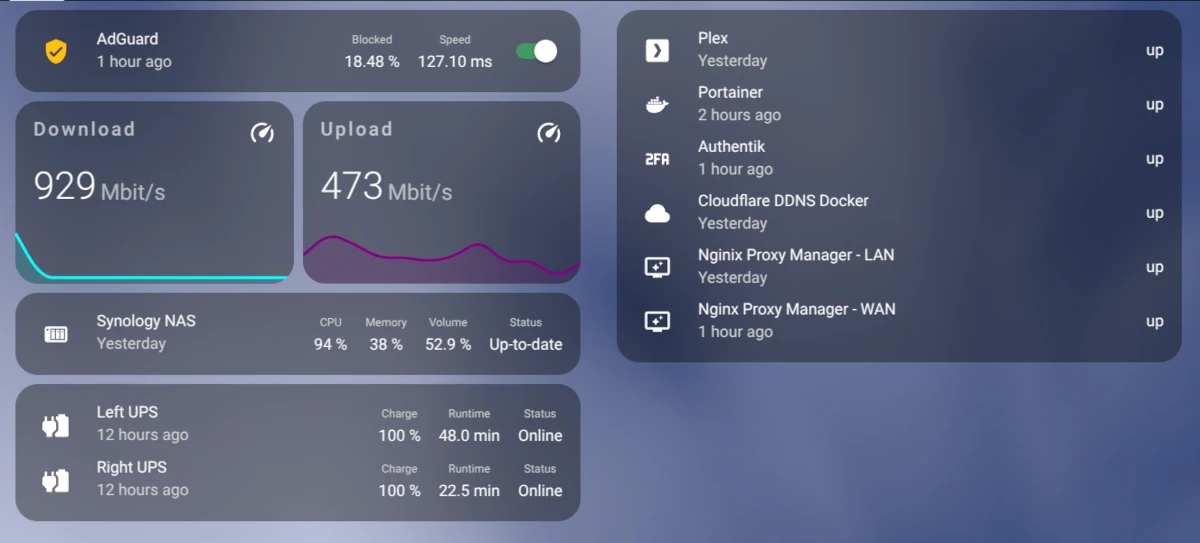 Homelab Dashboard
Why Not Speedtest.net?
I initially used the Speedtest.net integration. While it works, the documentation warns about high resource usage. Eventually, I ran into a memory leak that severely slowed down my Home Assistant instance.
Rather than risk system performance, I turned to Speed Test Tracker, a self hosted tool I was already running elsewhere in my homelab.
What Is Speed Test Tracker?
Speed Test Tracker is a self-hosted internet speed monitoring tool that runs in a Docker container. It offers:
- Scheduled speed tests
- Clean, informative graphs
- An accessible API for integrations
![]() Speed Test Tracker
Speed Test Tracker
To get started, follow the installation guide. After setup, log in and generate an API token from the API Tokens page. This token allows Home Assistant to securely pull your latest test results.
Creating RESTful Sensors in Home Assistant
We’ll use the RESTful integration in Home Assistant to display download speed, upload speed, and ping latency from Speed Test Tracker.
Step 1: Configuration Files
In your configuration.yaml, include:
1
rest: !include rests.yaml
Then, in your rests.yaml, add the following YAML. Replace <speed_test_tracker_ip> with your server’s IP or domain.
You’ll also need a unique UUID for each sensor. This ensures Home Assistant doesn’t duplicate entities after restarts and allows for more customization. Use uuidgenerator.net or Visual Studio Code to create them.
1
2
3
4
5
6
7
8
9
10
11
12
13
14
15
16
17
18
19
20
21
22
23
24
25
- resource: https://<speed_test_tracker_ip>/api/v1/results/latest/
  headers:
    Authorization: !secret speedtest_token
  method: GET
  verify_ssl: false  # Required if using HTTPS with an IP or self-signed cert
  scan_interval: 3600
  sensor:
    - name: "Speedtest Download"
      value_template: "{{ value_json.data.download_bits }}"
      device_class: data_rate
      unique_id: "<generate_UUID>"
      unit_of_measurement: "bit/s"
      state_class: measurement
    - name: "Speedtest Upload"
      value_template: "{{ value_json.data.upload_bits }}"
      device_class: data_rate
      unique_id: "<generate_UUID>"
      unit_of_measurement: "bit/s"
      state_class: measurement
    - name: "Speedtest Ping"
      value_template: "{{ value_json.data.ping }}"
      device_class: duration
      unique_id: "<generate_UUID>"
      unit_of_measurement: "ms"
      state_class: measurement
Step 2: Add the API Token
In secrets.yaml, add your token:
1
speedtest_token: Bearer your_api_token_here
Step 3: Restart Home Assistant
- Go to Developer Tools
- Click YAML
- Click Check Configuration
- If the message says Configuration is valid, click Restart Home Assistant
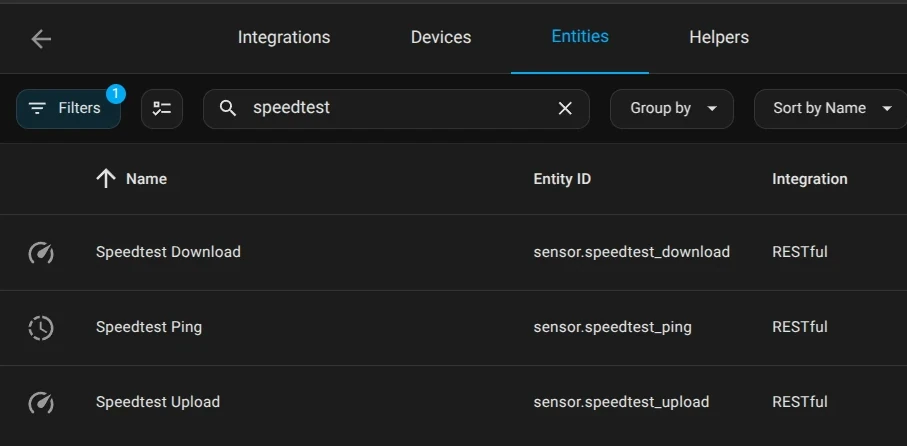
Once reloaded, go to:
- Settings → Devices & Services
- Entities tab
- Search for “speedtest”
You should see your new REST sensors.
Improving Readability: Mbps Instead of Bits
By default, speeds are reported in bits per second—which isn’t exactly human-friendly unless you’re still rocking a 2400 baud modem. For easier readability, you can update the display to use Mbit/s instead:
- Click the Download entity
- Click the gear icon (⚙️)
- Change Unit of measurement to Mbit/s
- Set Display precision to
0 - Click Update
Repeat for the Upload entity.
Visualizing Data on Your Dashboard
I use the Mini Graph Card via HACS to display network performance.
Download Graph
1
2
3
4
5
6
7
type: custom:mini-graph-card
name: Download Speed
icon: mdi:speedometer
line_color: cyan
decimals: 0
entities:
  - sensor.speedtest_download
Upload Graph
1
2
3
4
5
6
7
type: custom:mini-graph-card
name: Upload Speed
icon: mdi:speedometer
line_color: green
decimals: 0
entities:
  - sensor.speedtest_upload
These graphs are perfect for quickly identifying speed drops or ISP issues right from your Home Assistant dashboard.
When you first set up the graph, it may look a bit off. This happens because the initial value is in bit/s, which can skew the scale with a very large number. Once that value ages out of the graph’s display range, things will look much more accurate.
Conclusion
Having real-time access to my internet speed data on a touchscreen at my desk has been a game-changer. I’ve caught several overnight outages from Quantum Fiber where speeds didn’t recover until I manually restarted the modem.
Most importantly, this approach offloads speed testing from Home Assistant, keeping my server responsive while still giving me all the insights I need.
Frequently Asked Questions
Why is my Speedtest Tracker sensor not showing data in Home Assistant?
First, make sure the Speedtest Tracker container is running and that the API endpoint is returning data. If you open the latest results endpoint in a browser or test it with curl and do not get JSON back, the issue is outside Home Assistant.
Do I need to use verify_ssl false in the REST configuration?
Only sometimes. If you are using HTTPS with an IP address or a self-signed certificate, Home Assistant may fail SSL validation and require verify_ssl: false. If you are using a proper domain with a valid certificate, you usually do not need it.
Why is my Speedtest Tracker API token not working?
Make sure the token in secrets.yaml includes the Bearer prefix. For example: Bearer your_api_token_here. If the prefix is missing, Home Assistant will not authenticate correctly to the API.
Speedtest Tracker shows results, but Home Assistant does not. What should I check?
Check the following:
- The
resourceURL is correct - The API token is valid
- The REST sensor can reach the server
- Home Assistant logs do not show REST or SSL errors
- Your
value_templateentries match the returned JSON structure
Can I use either HTTP or HTTPS for Speedtest Tracker in Home Assistant?
Yes. Both can work. HTTPS is preferred, but if you use it with an IP address or self-signed certificate, you may need to disable SSL verification in the REST configuration.
Why is my update interval set to 3600 seconds?
The example uses a one hour scan interval to match a typical scheduled speed test cadence. You can lower it if needed, but there is no benefit in polling more often than Speedtest Tracker is actually generating new results.
Want to share your thoughts or ask a question?
This blog runs on coffee, YAML, and the occasional dad joke.
If you’ve found a post helpful, you can
support my work or
☕ buy me a coffee.
Curious about the gear I use? Check out my smart home and homelab setup.